📸 Take Photo
The Take Photo element in FormNX lets users capture a photo directly using their device's camera and submit it through your form. It's perfect for collecting selfies, ID verification photos, proof of delivery, on-site inspection photos, and any other use case where you need real-time photo input from users.
📌 How to Add the Take Photo Field to Your Form
Follow these simple steps:
- Open the Form Builder.
- On the left hand side, you'll see the Elements section.
- Find the Take Photo element.
- Drag and drop the element onto your form OR click on the element to add it automatically.
Once added, the Take Photo field will appear in your form layout, ready to be customized.
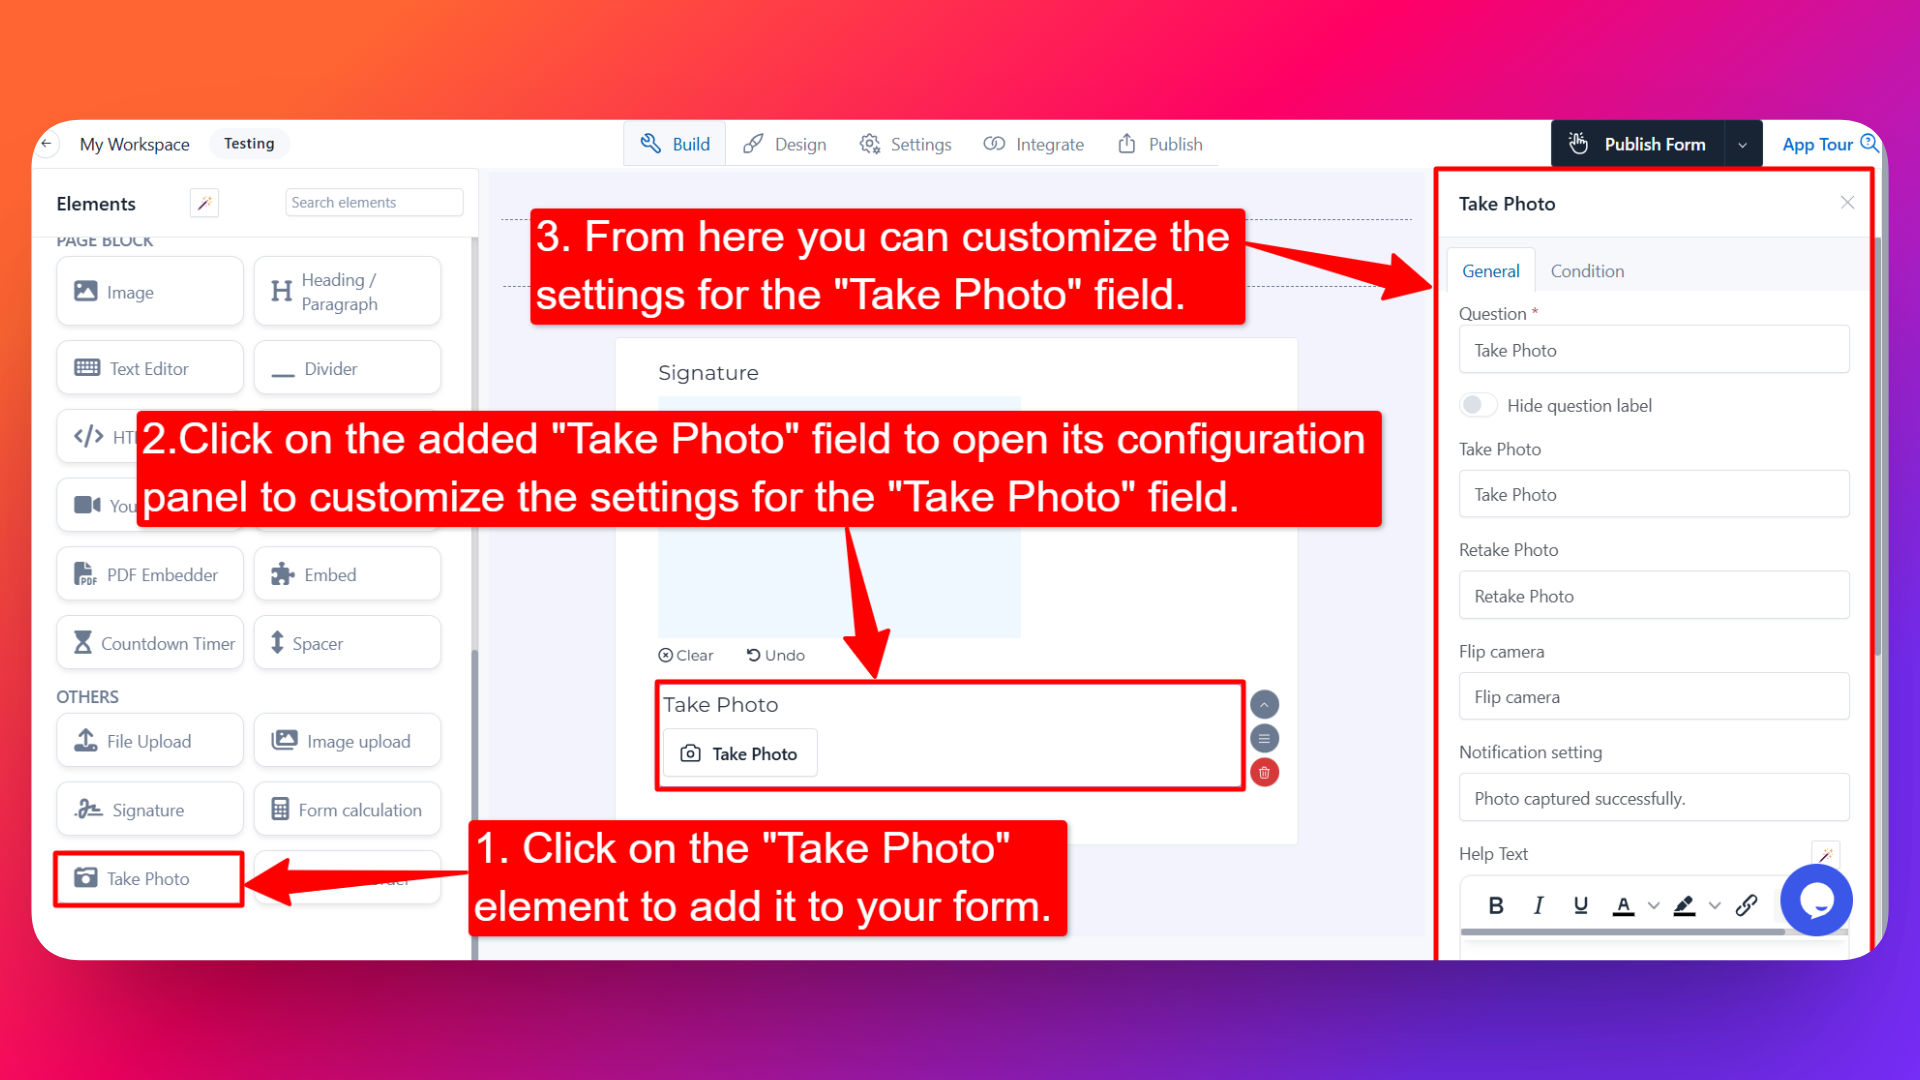
⚙️ How to Configure the Take Photo Field
To customize the field:
- Click on the Take Photo element in your form.
- The configuration panel will open on the right hand side.
From here, you can configure the following options:
- Question Label ✏️
- Add the question or label that users will see for this field.
- Example:
- "Take a selfie for verification"
- "Capture a photo of your ID"
- Hide Question Label 🙈
- Enable the Hide Question Label option to hide the label while keeping the photo capture field visible.
- Useful when the field's purpose is clear from context.
- Take Photo Button Text 📷
- Customize the text shown on the Take Photo button.
- Example: "Take Photo" or "Click Photo"
- Retake Photo Button Text 🔄
- Customize the text shown on the Retake Photo button (visible after a photo has been captured).
- Example: "Retake Photo"
- Flip Camera Button Text 🔁
- Customize the text shown on the Flip Camera button (used to switch between front and back cameras on supported devices).
- Example: "Flip Camera"
- Notification Setting 🔔
- Customize the notification message shown to the user after a photo is successfully captured.
- Example: "Photo captured successfully"
- Help Text 📝
- Add a short instruction or hint below the field to guide users.
- Example: "Make sure your face is clearly visible and well-lit."
- Is Required ✅
- Enable the Is Required option to make the field mandatory.
- Users won't be able to submit the form unless they capture a photo.
- Field Width 📐
- Adjust the width of the field to control how it appears on the form.
- Useful when placing multiple fields side by side.
- Send as E-mail Attachment 📧
- Enable this option to send the captured photo as an attachment in the email notification sent after form submission.
- Useful when you want the photo delivered directly to your inbox.
- Mark as Sensitive Data 🛡️
- Mark the field as Sensitive Data to handle the captured photo with extra care (such as masking it in submissions).
- Useful for personal verification photos or confidential images.
- Enable Popover Help Text 💡
- Enable this option to display the help text inside a popover (tooltip-style hint).
- Keeps the form clean while still providing guidance when users need it.
👤 How It Works for Users
When users open the form:
- They'll see the Take Photo button along with the label and any help text you've configured.
- On clicking the button, the form will request access to the device's camera.
- After granting permission, the user can:
- Capture a photo using the Take Photo button
- Switch between front/back cameras using the Flip Camera button (on supported devices)
- Retake the photo if they're not satisfied
- Once captured, the configured notification message will be shown to confirm success.
- If the field is marked as required, they must capture a photo before submitting the form.
💡 Common Use Cases
- Capturing selfies for identity verification in registration or KYC forms.
- Collecting ID photos in onboarding or application forms.
- Taking proof-of-delivery photos in logistics and field service forms.
- Capturing on-site inspection photos in property, audit, or maintenance forms.
- Collecting before/after photos in service request or claim forms.
- Adding profile pictures in user signup or membership forms.
The Take Photo element gives you a quick, reliable way to collect real-time photos directly from your users — no need to upload existing files from their device.